Mini Chicken Pot Pies
with puff pastry lids
The pastry on these mini pot pies stays flaky! Give these a try instead of your normal pot pie.
Prep:
25 Minutes
Cook Time:
15-20 Minutes
Serves: 6-8
Ingredients:
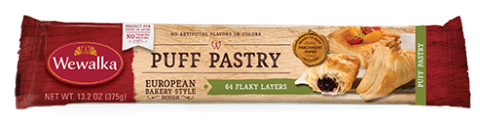
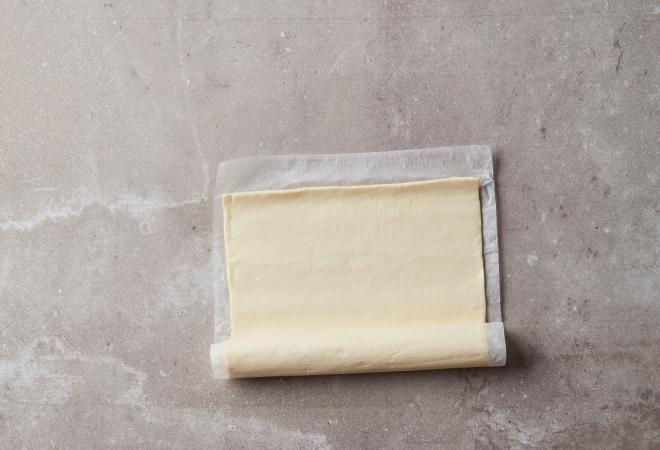
- 1 pkg. Wewalka Puff Pastry Dough
- Egg wash (1 egg and 2 Tbsp. water, beaten)
- 1 onion, finely chopped
- 4 stalks celery, chopped
- 2 Tbsp. olive oil
- 3 cloves garlic, minced
- 1/2 cup butter (1 stick)
- 1/2 cup flour
- 32 oz. carton chicken stock
- 1 1/4 cups half and half
- 5 carrots, cubed
- 2 large potatoes, peeled and cubed
- 1 Tbsp. fresh sage
- 2 tsp. fresh thyme
- 1 cooked rotisserie chicken, torn into bite size pieces
- 1/3 cup fresh parsley
- 1 cup frozen peas
- 1 tsp. salt
Directions
1. Preheat oven to 400°F.
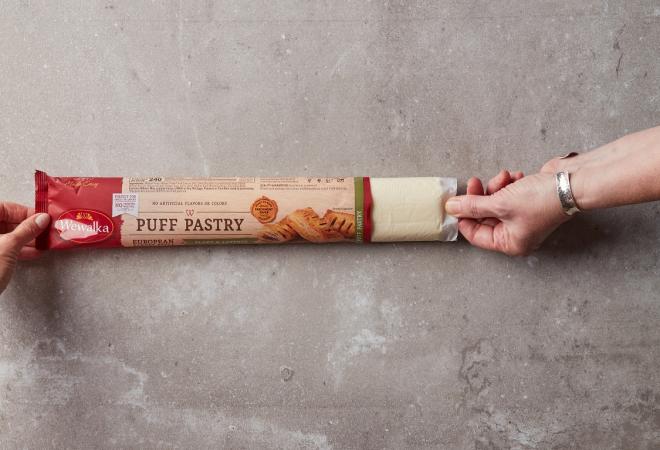
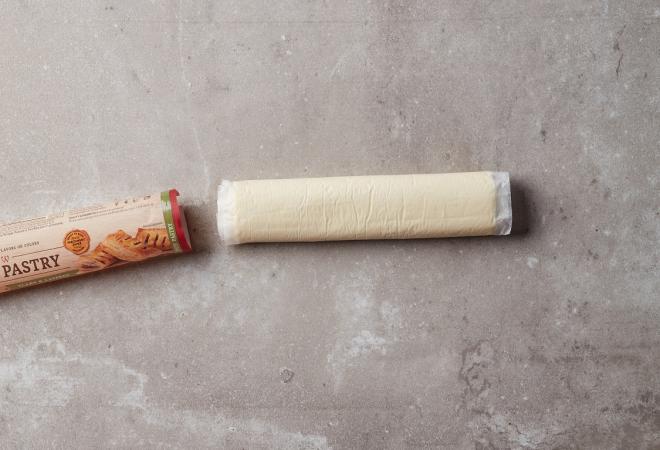
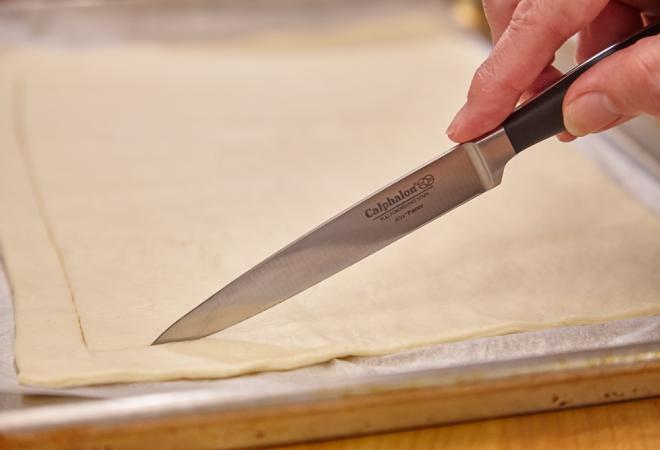
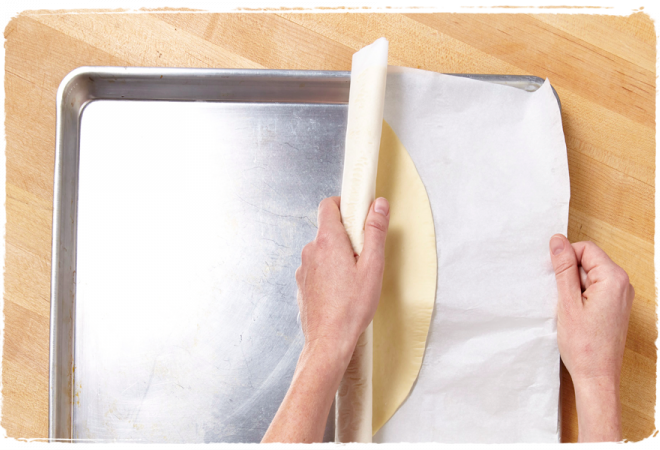
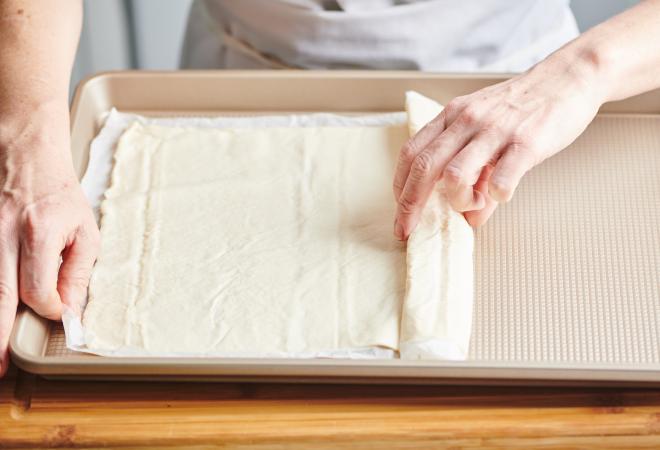
2. Unroll refrigerated Puff Pastry Dough on enclosed parchment paper and place on a baking sheet. Using medium sized ramekin, trace ramekins with a knife to create puff pastry lid. Continue to cut circles for approximately 6-8 medium ramekins. Remove any excess dough (you can reserve it to use for decorating the lids with creative shapes).
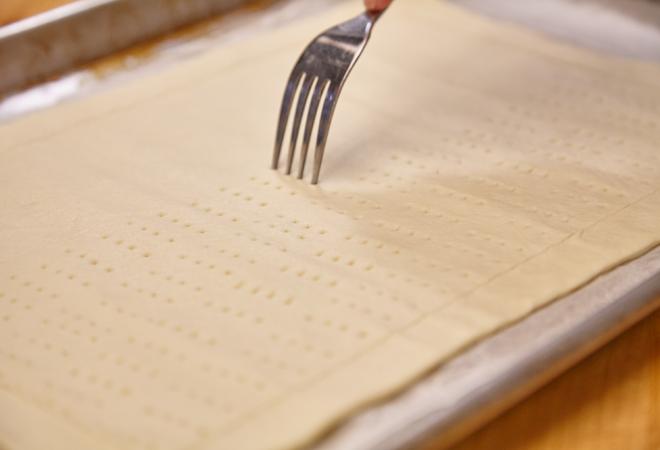
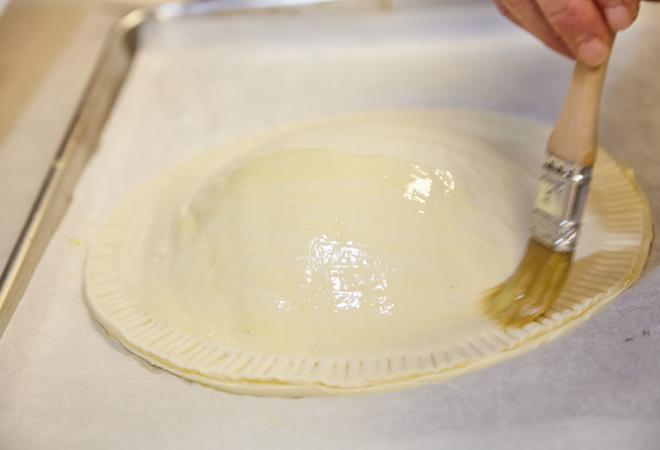
3. Score the top of the pastry lids for added pattern or use reserved dough to create shapes on the lids. Brush each puff pastry circle with egg wash.
4. Bake for 15-20 minutes until golden and puffy. Set aside.
5. While the pastry is baking, in a medium saucepan, sauté onions and celery with olive oil over medium heat until tender. Add garlic and butter and continue to stir. When butter is melted, add flour, continuously stirring for about 2 minutes to create a roux.
6. Add stock, 1/2 cup at a time, stirring until liquid is absorbed. Repeat with half and half. As the mixture thickens, add the remaining vegetables, sage and thyme. Simmer over medium heat, stirring occasionally until veggies are tender.
7. Remove from heat and add chicken, parsley, and peas. Add salt and pepper to taste. Filling can be prepared a day ahead and stored in refrigerator until ready to serve.
8. To assemble pot pies, spoon the warm filling into ramekins until nearly filled. Top each ramekin with a freshly baked puff pastry and serve immediately.