Ideal dessert or afternoon snack for your beach holiday...
Use product immediately upon removal from refrigerator as there is no need to thaw! No need to use flour and a rolling pin to stretch the dough.
Dough will roll out and cut easier if it is chilled. If you're trying to create a specific shape, keep the pastry as cold as possible (but not frozen) and it will be easier to make precise cuts.
If you want to keep the inside from rising as much as the edges, just use a paring knife to score a border. Don’t cut the dough all the way though! Use a fork to prick the dough. The pastry will still be light and flaky with the edges puffed up and the center will stay down.
Pop the dough in the fridge after working with it, while the oven preheats. This step gives the fat in the dough a chance to re-solidify, to get an even better baking result.
Egg-wash: Just before baking, brush your puff pastry with egg wash (1 large egg with about 2 tablespoons water, beaten) to give it an attractive shine and color.
To seal the pastry edges for any stuffed pocket-style pastry, just brush a thin layer of water or egg whites along the edges and press them together to make them stick.
Crimp edges of smaller pastries like hand pies with a fork. Larger pastries can be crimped with your fingertips.
Serve soon after baking! Puff Pastry is best when fresh, so ideally bake close to serving. Only few recipes are great to make ahead. Puff Pastry is best when baked and served the same day.
To unroll the dough, remove dough from package and gently separate the dough and parchment paper from the roll, so that the dough on paper begins to lay flat. Be careful not to separate the dough from the parchment paper. There may be some sticking, but the dough and paper should easily pull away from the roll.
Once the dough is lying flat on the baking tray, cut off or tuck any excess paper under, so it does not hang over the edge.
1. Preheat oven to 400°F.
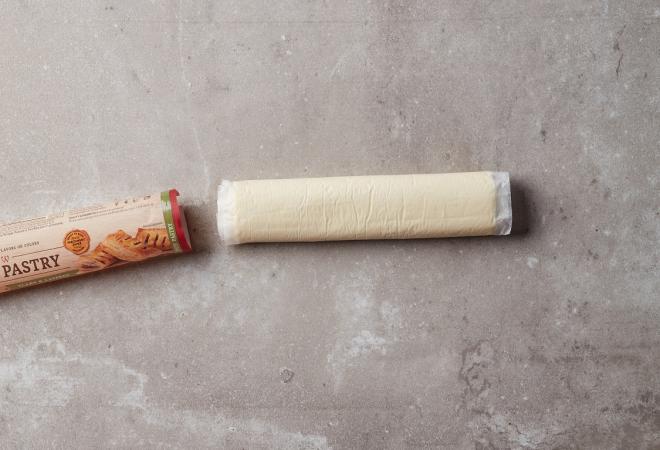
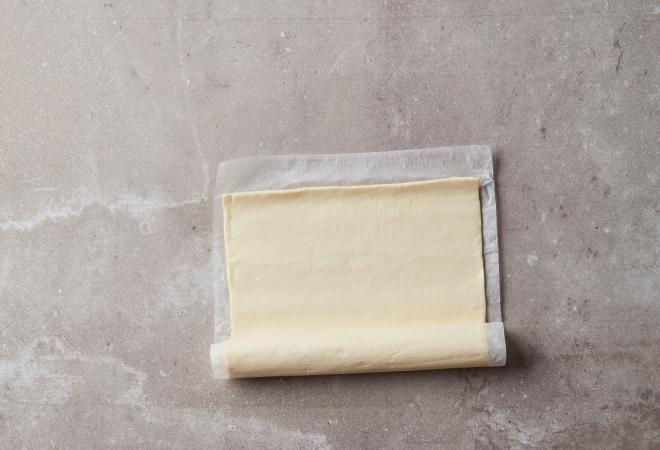
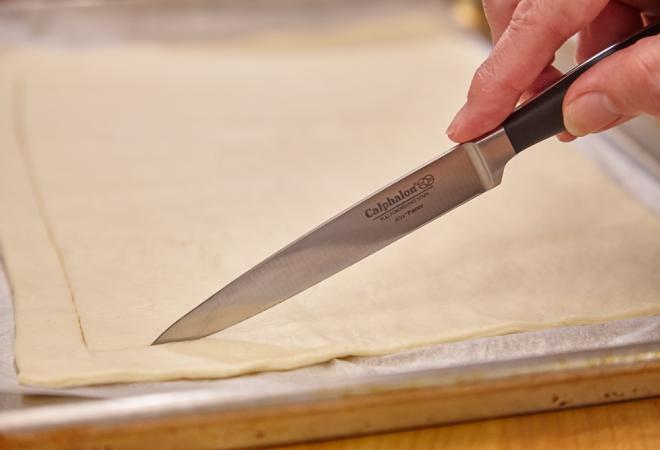
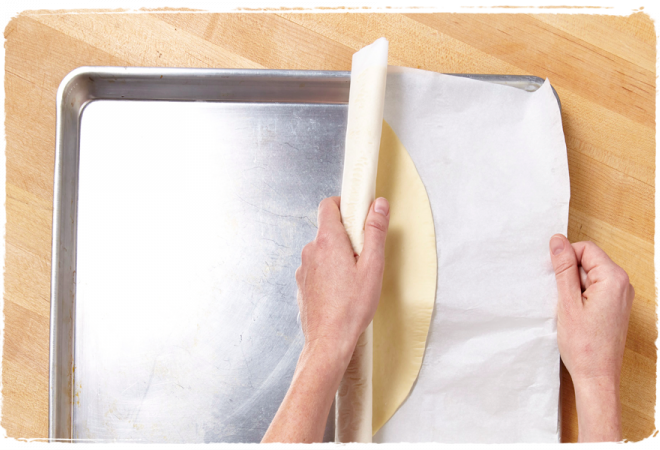
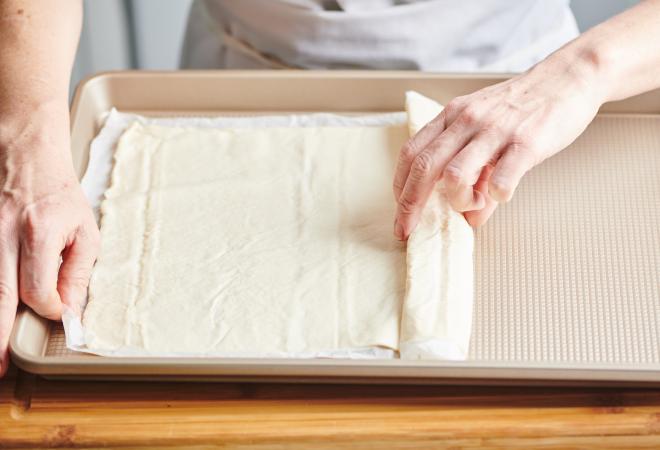
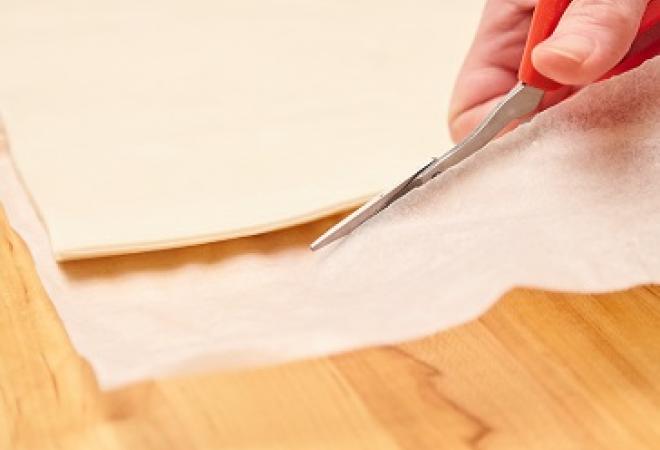
2. Unroll refrigerated Puff Pastry Dough and cut 3 inches off the end and set aside. Cut the remaining dough into three equal strips to create bases for sundae boats.
3. Cut 1/2 in. off of each end of the boat bases, and stack on top of the ends.
4. Take remaining dough and cut length-wise into 1/2-in. strips to complete the perimeter edges of the boats.
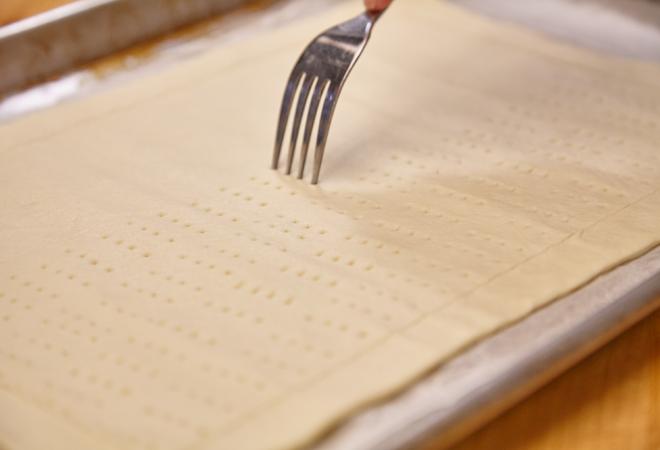
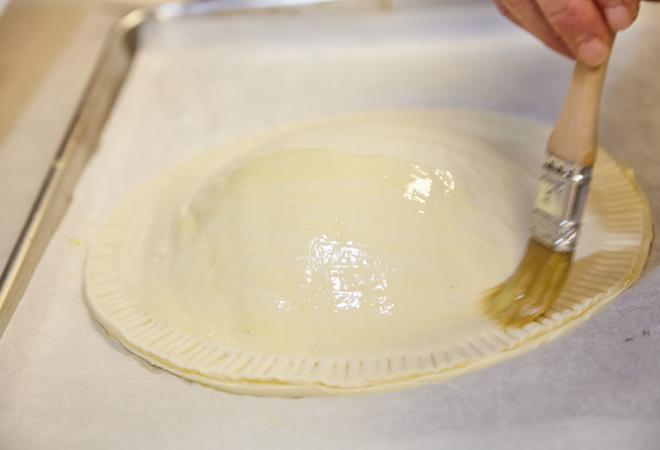
5. Prick holes into the bottom of each boat and brush with egg wash.
6. Bake for 12-15 minutes at 400°F. Halfway through baking, prick middle of boats again with sharp knife.
7. Remove from oven and use the back of a spoon to press the center of the boats down. Allow to cool completely.
8. Fill boats with scoops of ice cream and chosen sundae toppings.
Login or Register to write a review