Tucked in S'mores
with Puff Pastry
Children and adults alike will love this creative s'mores recipe!
Prep:
5 Minutes
Cook Time:
20 Minutes
Serves: 6
Ingredients:
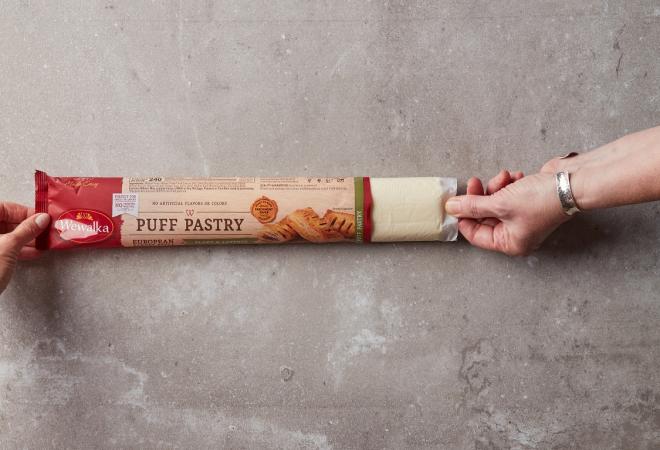
- 1 pkg. Wewalka Puff Pastry Dough
- 6 snack size milk chocolate bars
- 6 standard sized marshmallows
- Egg wash (1 egg and 2 Tbsp. water, beaten)
Directions
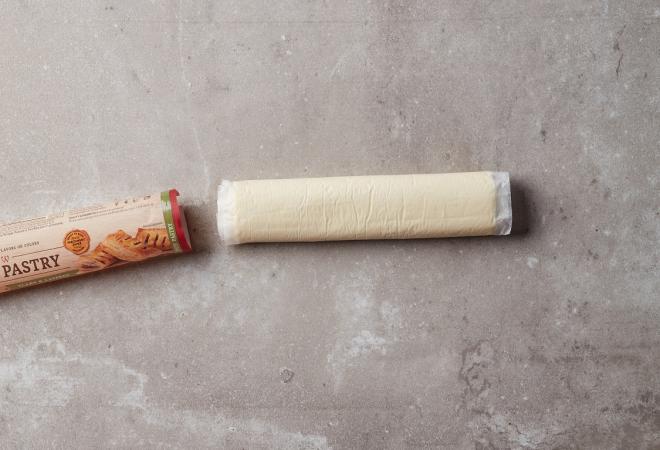
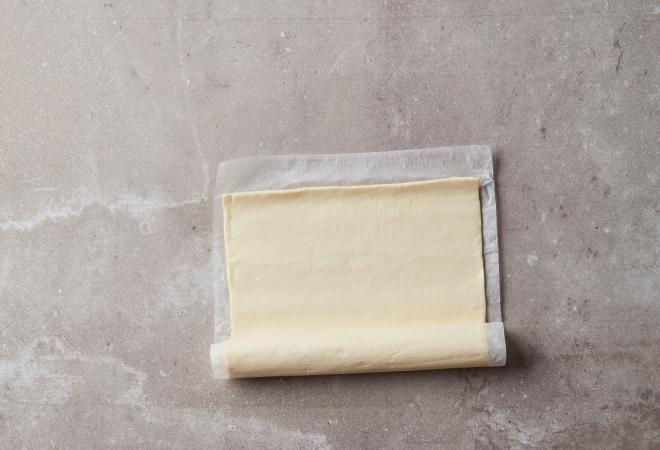
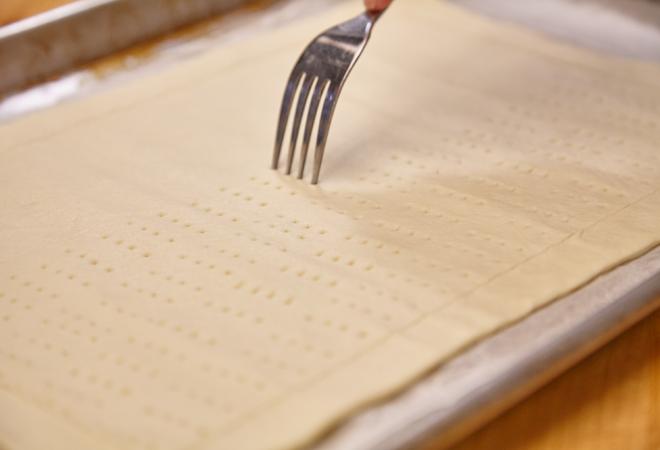
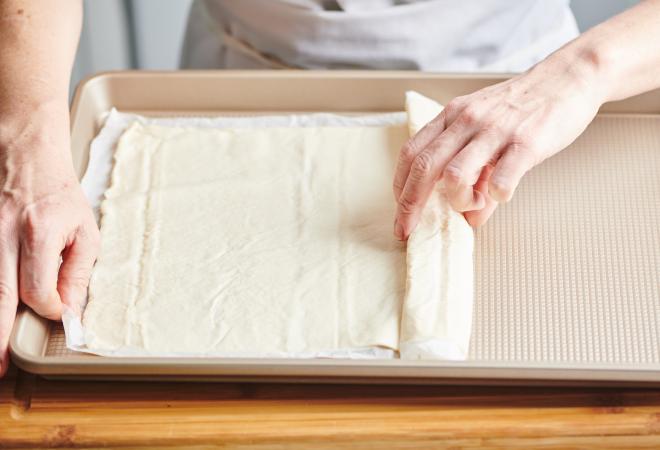
1. Preheat the oven to 400°F and unroll the refrigerated Puff Pastry Dough with the parchment paper.
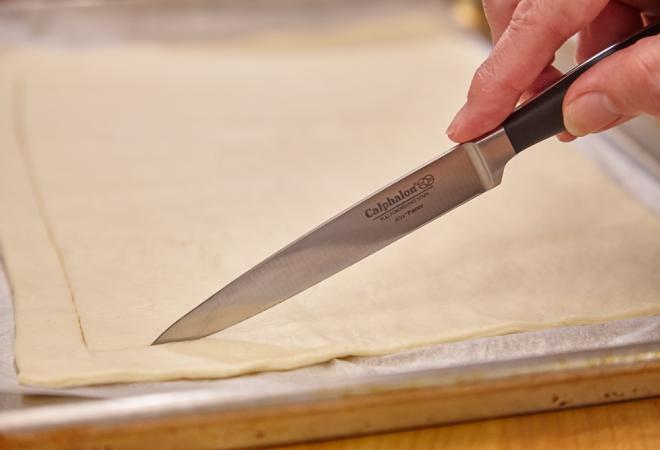
2. With a pizza cutter, cut dough in half length-wise, and then in thirds down the short side to form 6 rectangular pieces.
3. Place chocolate bar near the bottom of each rectangle, leaving about a 1/4 in. edge for crimping later. The bar should be oriented perpendicular to the long side. Slice 6 marshmallows in half length-wise. Place 1/2 marshmallows on top of each chocolate bar. Save the other 6 halves for later step.
4. Fold the dough over in half length-wise, holding on to the top corner. Then fold the top corner back, “opening up the sleeping bag."
5. Brush all but the sleeping bag flap with egg wash. Bake for about 20 minutes (or until golden brown).
6. While still warm, place on the remaining half marshmallows to form pillows. Return to oven for 1 minute or until pillows are lightly toasted.