
Fall Harvest Apple Sheet Cake
Beautiful, easy, and perfect for a fall treat! This is a sweet and light seasonal dessert.
Prep:
15 Minutes
Cook Time:
20 Minutes
Serves: 6-8
Ingredients:
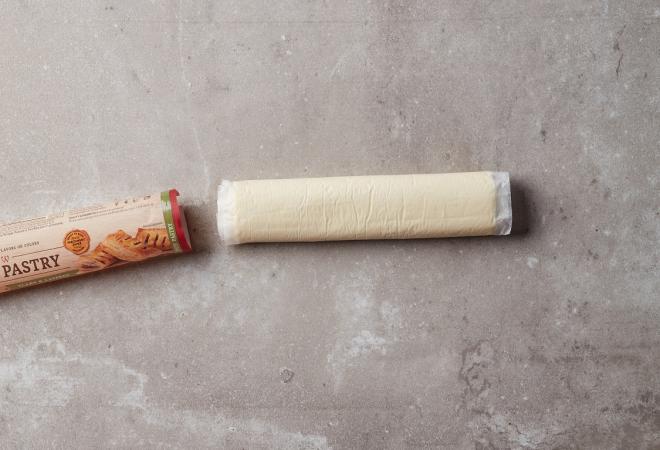
- 1 pkg. Wewalka Puff Pastry Dough
- 1 Tbsp. butter, room temperature or softened
- 2 Granny Smith Apples (or other baking apple)
- 3 Tbsp. brown sugar
- ½ tsp. cinnamon
- Pinch of kosher salt
- 1 Tbsp. lemon juice
- 1 Tbsp. corn starch
Icing Ingredients
- 1 cup confectioners’ sugar
- 1 Tbsp. melted butter
- 2 Tbsp. whole milk
- ½ tsp vanilla
- Pinch of kosher salt
Directions
1. Preheat oven to 425°F.
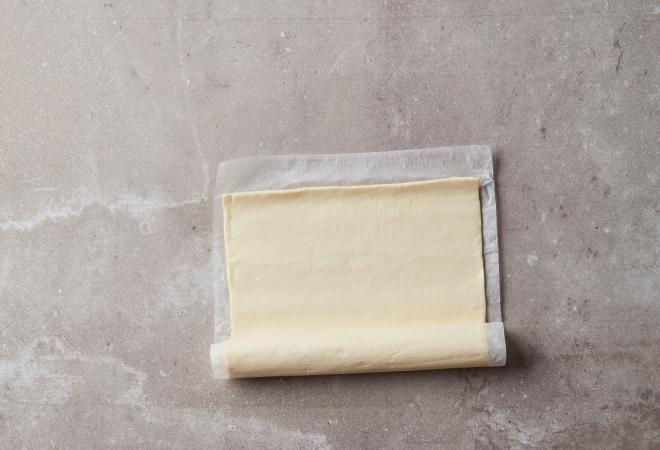
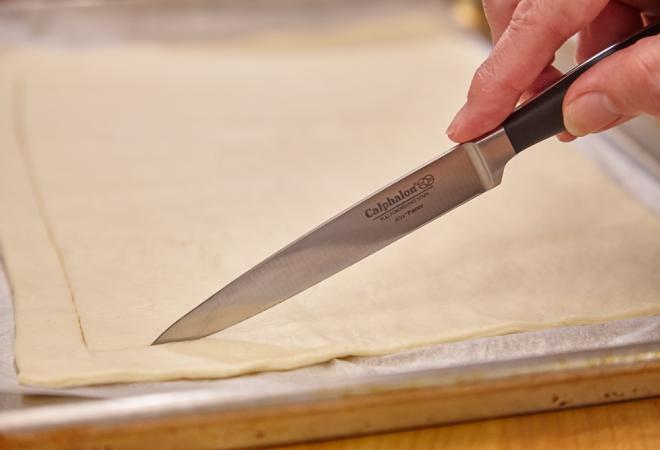
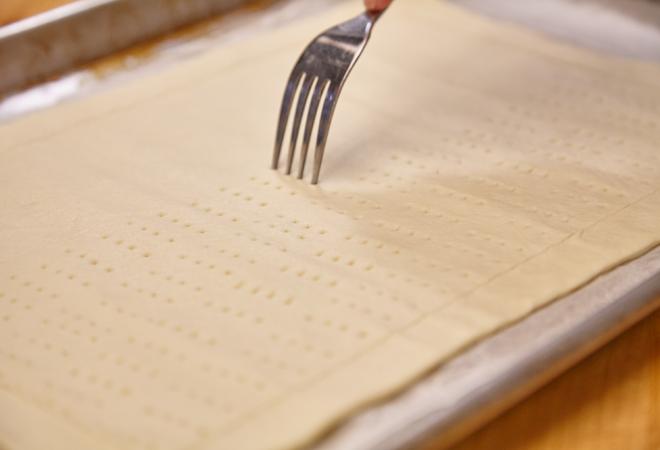
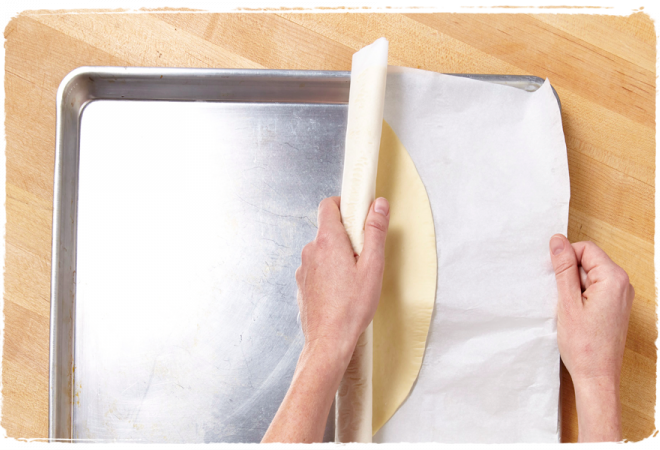
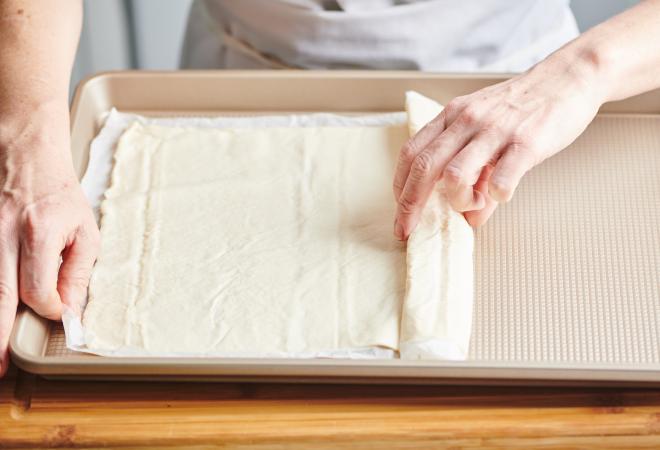
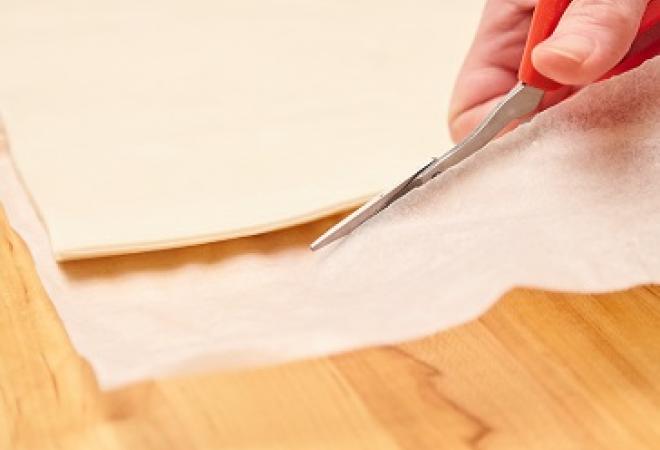
2. Unroll refrigerated Puff Pastry Dough onto a rimmed baking sheet with included parchment paper. Using a knife, cut a line around the perimeter of the dough roughly one inch to a half inch from the edge—this will form the crust. Then using a fork, punch holes in the dough inside the perimeter lines. It is best to do this in rows so that all the dough is covered.
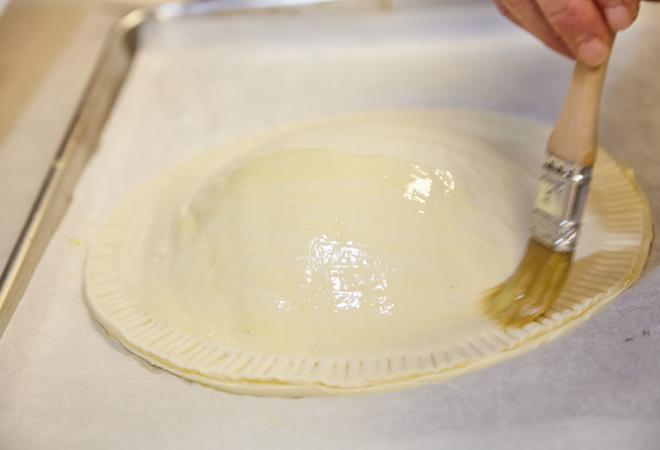
3. Rub the softened butter all over the surface of the pastry dough.
4. Wash and peel the Granny Smith apples. Cut them into quarters and cut out the core section of each piece. Cut each quarter into medium-thin slices and place in a large bowl.
5. Add the brown sugar, cinnamon, salt, lemon juice, and corn starch, and stir to combine.
6. Lay the apples out in three rows on the dough, alternating slice direction with each row. Any liquid in the bowl can be drizzled over the apples.
7. Bake for 25 minutes. Set aside to cool slightly while preparing the icing.
8. For the icing, mix all the ingredients together in a small bowl and whisk until smooth. Scoop the mix into a pastry bag or a plastic bag with a section cut out of one corner. Squeeze the icing out on top of the tart diagonally in rows. Cut and serve.


Login or Register to write a review