
Robin Nests
With White Chocolate Mousse
These cute and playful treats are a great way to usher in spring. Kids love them!
Prep:
15 Minutes
Cook Time:
10 Minutes
Serves: 12
Ingredients:
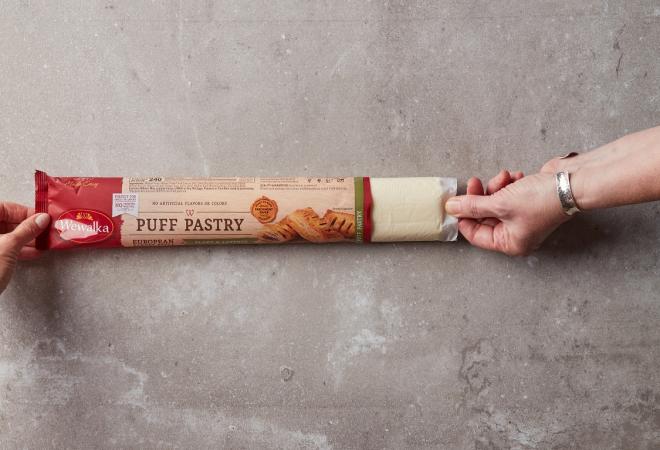
- 1 pkg. Wewalka Puff Pastry Dough
- Egg wash (1 egg and 2 Tbsp. water, beaten)
- 4 egg yolks
- 1/4 cup sugar
- 2 1/2 cups heavy whipping cream
- 1 cup white chocolate baking chips (or bars, chopped)
- 1 1/2 cups coconut, shredded or flakes
- 1 small pkg. egg-shaped candy
Directions
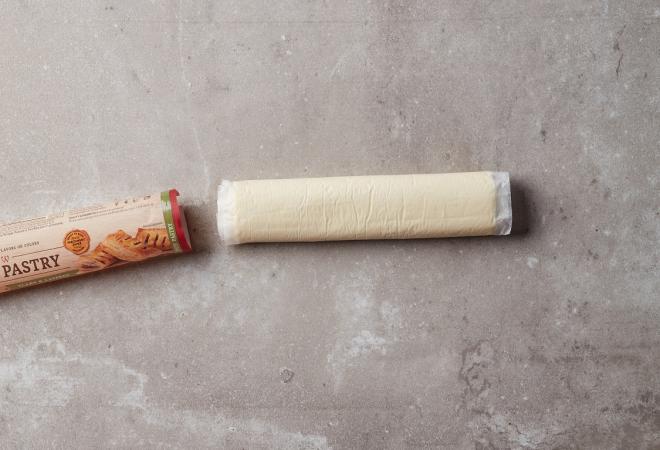
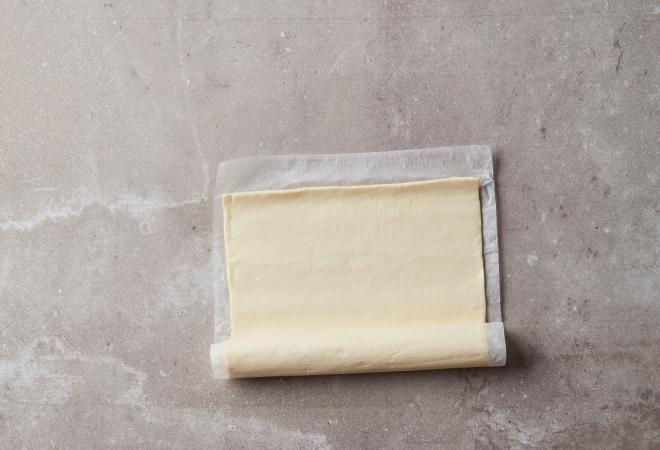
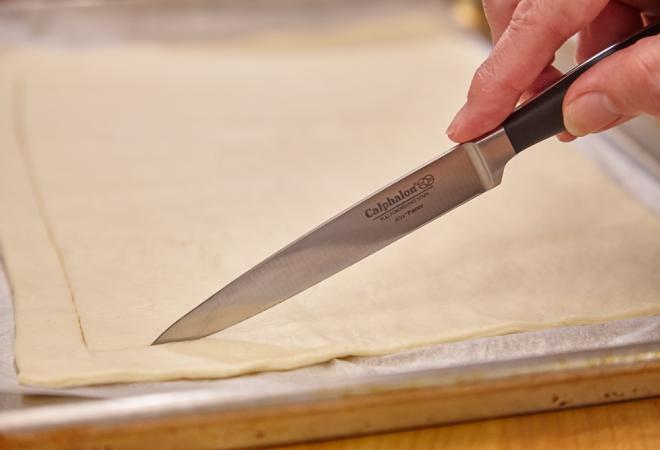
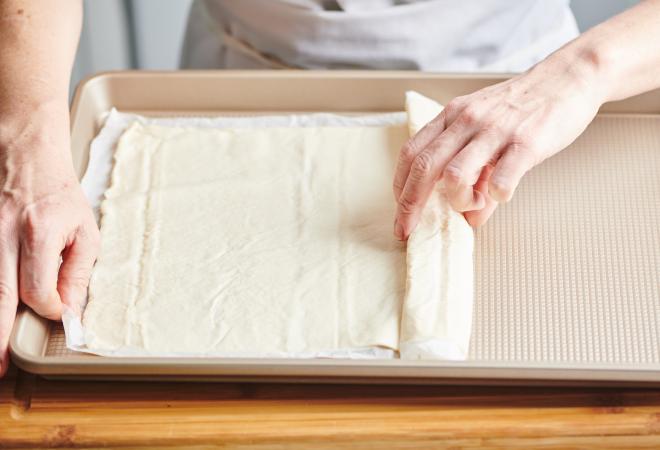
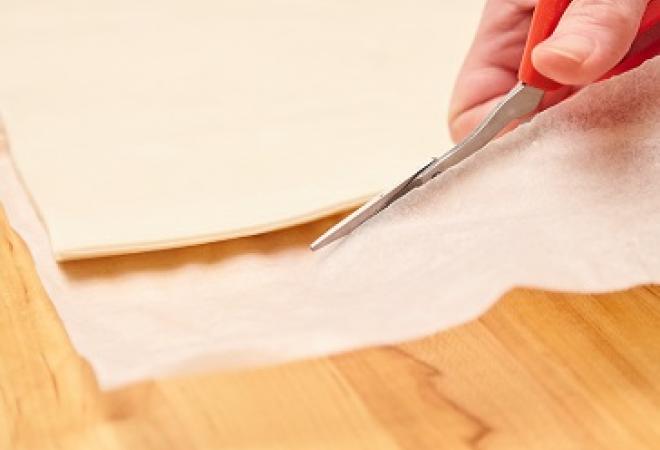
1. Preheat oven to 350°F and unroll refrigerated Puff Pastry Dough. Cut into 12 even squares (4 strips on the long side, 3 strips on the short side), or match number of squares to your muffin tin.
2. Spray muffin tin with baking spray, or use non-stick Teflon coated muffin tin. Place a pastry square in each tin cavity. Press and bend corners to the outside. Brush each with egg wash.
3. Bake 10-12 minutes until golden brown. Allow nests to cool before adding mousse. Once cool, spoon mousse into baked nesting cups (you can also use a pastry bag or a Ziploc bag with one corner cut off). Garnish with toasted coconut and mini eggs (can assemble 2 hours before serving, storing in fridge until ready to serve).
4. Mousse Directions: Beat egg yolks in a small bowl with electric mixer on high speed for about 3 minutes or until thick and lemon colored. Gradually beat in sugar. Heat 1 cup whipping cream, in 2 quart saucepan, over medium heat until just hot. Gradually stir at least half of the cream into egg yolk mixture, then stir back into hot cream in saucepan. Cook over low heat for about 5 minutes, stirring constantly until mixture thickens (do not boil). Stir in baking chips until melted. Cover and refrigerate about 2 hours until chilled. Beat 1 1/2 cups whipping cream in chilled medium bowl with electric mixer on high speed until stiff. Fold refrigerated mixture into whipped cream. Set aside in refrigerator until ready to serve.
5. Toasted Coconut Flakes Directions: Preheat oven to 350°F. Place coconut flakes on a cookie sheet and bake in the oven for about 10 minutes until light brown. Set aside.


Login or Register to write a review